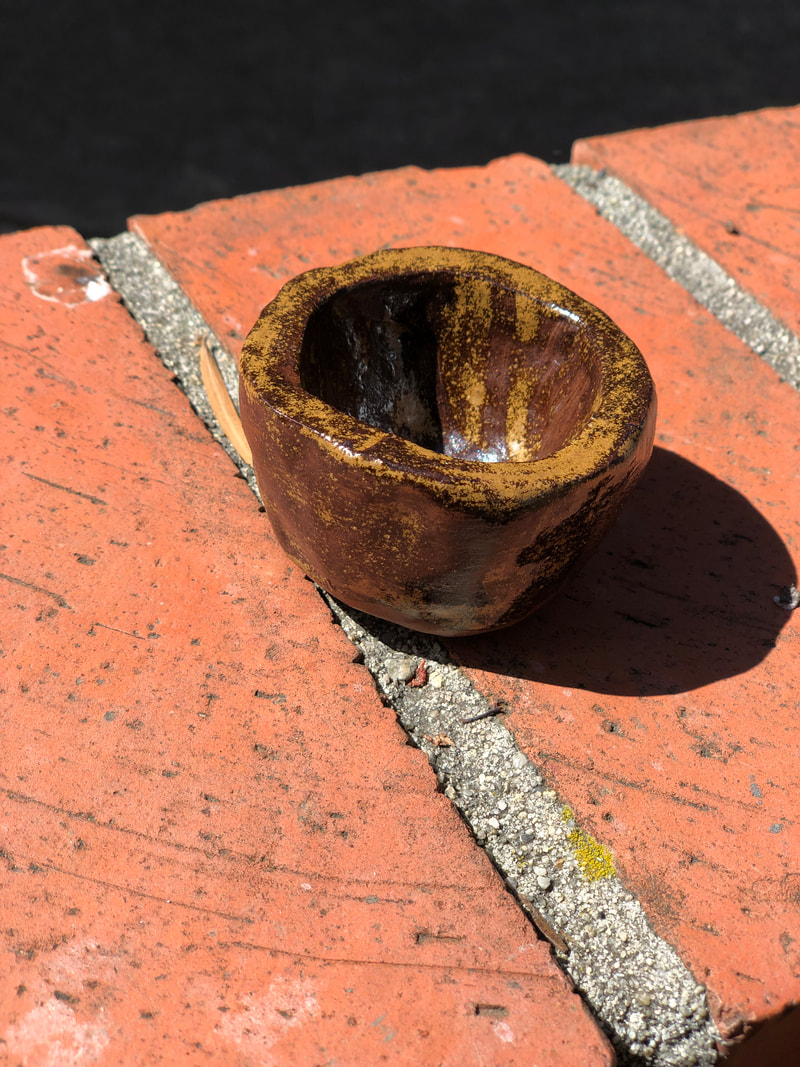
Pinch pot: a pinch pot, created with pinch pottery in order to complete a pinch pot assignment
Clay, glaze
We were instructed to make pinch pots, meaning all we had to do was roll the clay into a sphere and poke a hole with it in out thumb to get the basic shape. We kneaded the clay so it would be easier to manipulate, which got a bunch of mushy clay stuck on the table. Eventually, I had a ball to work with, but class was over by then. The next day, I was able to make a small pot. I don’t remember exactly how many class periods it took, but it was probably too many for the end to be justified. I smoothed out the edges so that I had a fairly thick but small pot, and I tried to make the top rim as even as I could. Afterward, I left it outside so it would dry out.
Once it had been fired, I began to glaze the bisque with a foam brush. The glaze I chose was called “Textured Amber.” When it was wet, it was a dark reddish color. I glazed the inside and outside three times over, making sure to leave a blank rim around the bottom so the glaze wouldn’t melt onto the kiln. It turned out that I left too much, but hindsight is 20/20, I guess. The pot turned out to be a dark brown with blotches of light brown, which looks a lot better than it sounds. I was pretty happy with the end result, and I plan to put it on my dresser and never really notice it again.
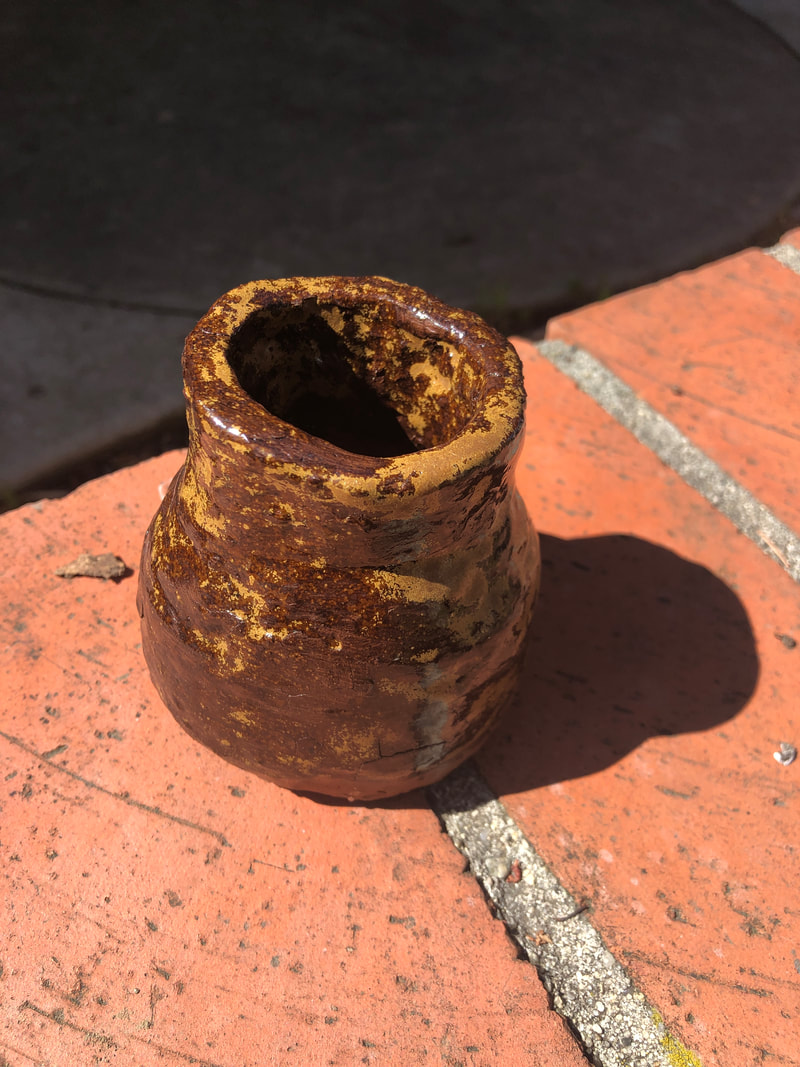
Coil Building: a coil pot, created with coil building in order to complete a coil building assignment
Clay, glaze, slip
Coil building proved to be much more difficult than pinch pottery. The first step was to roll out some clay, cut in into a circle with a cup, and peel it off the table. This alone took an entire class period, which should provide a hint as to how incompetent I was at first. Once we were done with that, i.e. after nearly an hour, we had to add our coils. To do this, we were instructed to crosshatch the rim of the circle and pat it down with slip, then to roll a long snake-shape with more clay, put scratches and slip on the underside of it, and finally place it around the perimeter of the circle. Then we had to smooth down each coil onto the once beneath it. As you can imagine, it took a long time. I was moving steadily along at a rate of two coils per class, and that rate was slowly increasing. But when my pot reached four or five inches high, it was neglected: deprived of moisture. I was horrified t learn my once supple pot had become close to the dryest stage of greenware: bone dry. There was nothing I could do but spray my pot with water and cover it with slip. However, this turned out to be a mistake, as the outside of the pot began to crack. Again, hindsight is 20/20. Once the pot was fired, I glazed it with the same color I used for the pinch pot, “textured amber.” But this pot wasn’t the greatest, as I couldn’t complete it once it reached the bone dry phase, so I didn’t try very hard to glaze it well. I painted a little bit of the inside and then just squeezed out the glaze in my brush into it so it would spill on the bottom. That didn’t work very well. But the outside still had that cool speckled effect, even though there were still a few cracks.
